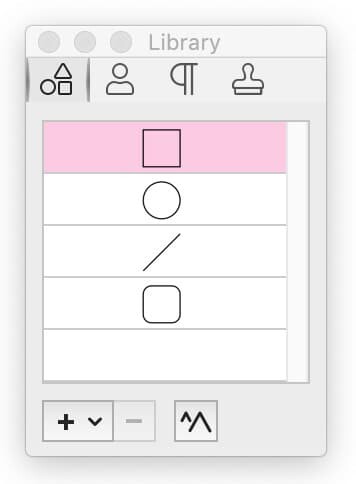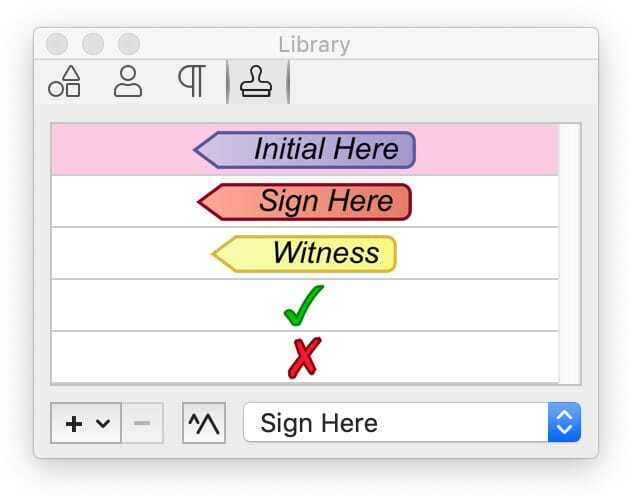
The Library stores scribbles, images, and text for quick access and reuse. Drag Library items to the current document to insert them.
Choose the Library button in the Toolbar to open the Library (Command+Y).
Library Tabs
Built-Ins
From the Library palette, drag and drop a built-in shape onto a document page, or double-click to add a built-in centered on the current page. Built-ins are also available from the Draw tools menu. (Toolbar).

Custom
Store objects for future use including objects created with the scribble tool, any drawing tool objects (polygons, lines), annotation tool objects (text boxes, comments), or images (pictures, signatures).

Proofreading marks
Drag these proofreading marks into your document. If you select a stroke color in Object Properties first, any proofreading mark you drag into your document will adopt that color.

Stamps
Drag stamps into your document. Choose from Standard Business, Sign Here, Dynamic Stamps or User Defined. The name in a dynamic stamp is set in the Editing preferences.

Library Location
If iCloud is turned on, later versions can sync the Library with iCloud. Please check your application version and iCloud settings.
If you are not using iCloud or you are using an older version of the application, the items in your library are stored in the Library file located here:
[HOME]/Library/Containers/com.smileonmymac.PDFpen/Data/Library/Application Support/PDFpen/Library
Navigating the Library
Saving Items in the Library for Reuse
Save frequently-used images and objects in the Library.
- Make sure the Library palette is open. (Window > Library or Command+Y).
- Select an object (scribble, shape, image, signature, or text).
- Click the plus (+) buttonat the bottom of the Library palette.

- Choose Add Selected Imprint. Your selection will be added to the Custom tab.
The next time you want to use an item saved in the Library, you can just drag it from the Library onto the page.
Combining Multiple Scribbles or Drawing Objects into a Single Library Item
- Select the scribbles and/or drawing objects you want to store as one: shift-click on multiple items or drag your mouse over the items you want to select.
- Click on the plus (+) buttonat the bottom of the Library palette.

- Choose Add Selected Imprint. A single item combining the selected objects will be added to the Library.
This feature is useful if you want to save a signature created with more than one scribble.
Importing an Image File to the Library
- Click on the plus (+) buttonat the bottom of the Library palette.

- Choose Add File…
- From the dialog box that opens, choose the image file you want to add to the Library.
Use this for image files that are not already in your document. If the image is already in your document, you can select it and choose Add Selected Imprint.
Increase Library Size magnify button

Reorder Custom Library or User Defined Stamp Items
Reorder the items you have stored in the Custom library or in your list of User-Defined stamps with drag and drop. Click and drag an item up or down the list. A blue line indicates where it will drop.
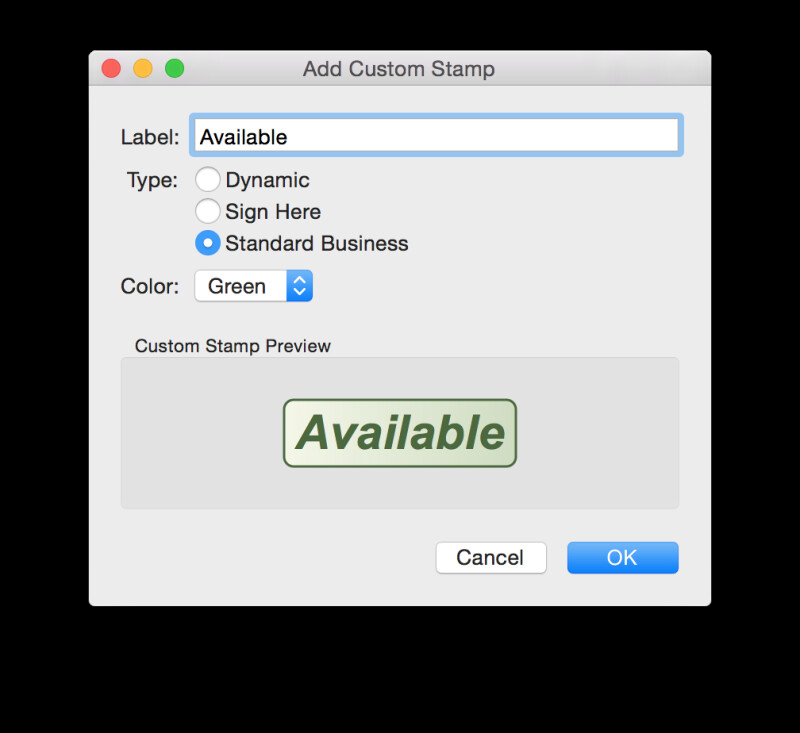
Creating a User-Defined Stamp
- Click on the plus (+) buttonat the bottom of the Library palette.

- Choose Add Custom Stamp…
- From the dialog box that opens, choose a stamp label, type (Dynamic, Sign Here or Standard Business), color scheme, and click OK to create a new custom stamp with the chosen values.
The Custom Stamp Preview image area shows what the new custom stamp should look like.

Removing a Library Item
- Select the item you want to remove
- Click on the minus (-) buttonat the bottom of the Library palette.
